


Summary
Your first dental visit to a new practice is a key step in managing your oral health, and understanding the process can alleviate anxiety. The appointment typically begins with pre-visit preparation, including filling out digital forms. The visit itself involves a comprehensive oral examination, x-rays, and a professional cleaning. The dentist then reviews a personalized treatment plan and discusses costs, insurance, and payment options like Sunbit financing. By knowing what to expect, you can feel prepared and confident, ensuring a positive experience.
Visiting the dentist for the first time at a new practice can be both exciting and a little nerve-wracking. Whether you’re returning after a long break or switching to a new provider, knowing what to expect can help you feel confident and at ease. Your dental team is there to ensure your visit is smooth, comfortable, and productive.
This guide walks you through every step of your first appointment so you can face it prepared and informed.
What You Need to Know about Your First Dental Visit
Your first dental visit is more than just a check-up. It sets the tone for your ongoing dental care. A positive experience builds trust, reduces anxiety, and helps you stay committed to maintaining your teeth and gums’ health for life.
The dental office uses this visit to gain a comprehensive understanding of your oral health, review your medical history, and tailor a personalized care plan just for you.
Many people feel some level of dental anxiety, which studies show can range from mild to severe. The more predictable and transparent the visit, the easier it is to manage these feelings.
Your dental team’s goal is to make this appointment straightforward and reassuring so you leave with confidence and a smile.
Step 1: Booking Your Appointment and Pre-Visit Preparation
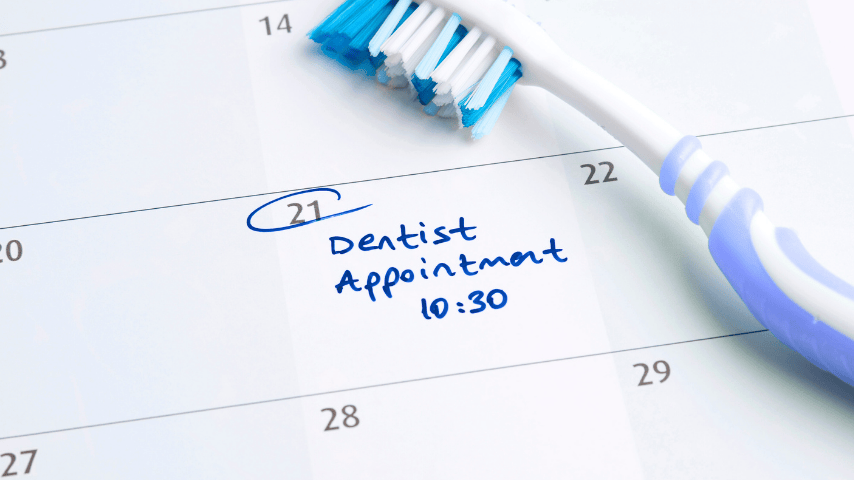
The experience begins before you even walk into the office. Most modern dental offices offer multiple ways to book your appointment, including phone calls and online scheduling available 24/7. This flexibility lets you choose a convenient time, with many practices recommending morning appointments to avoid rushing and help the team work efficiently.
Once your appointment is set, you’ll usually receive digital forms via email or text. These intake forms cover your medical history, current medications, allergies, dental insurance details, and your consent to privacy under law. Completing these forms at home saves time and helps the dentist understand your unique needs before your arrival.
You’ll also receive clear instructions on what to bring, the duration of the appointment, and what to expect during your visit. For parents bringing children, offices often provide guidance on how to discuss the visit positively, helping kids feel less anxious.
Helpful Tips Before Your Visit:
- Bring a government-issued ID and your dental insurance card.
- Prepare a list of any medications or supplements you take regularly.
- Write down any questions or concerns about your oral health.
- Check directions, parking, and office hours to avoid surprises.
Being prepared reduces wait times, lowers anxiety, and allows the dental team to focus on your care rather than paperwork.
Step 2: Arrival and Check-In
Upon arrival at the dental office, the front desk staff will warmly welcome you by name and verify your appointment details. Many offices now offer digital or contactless check-in options, allowing you to complete paperwork on a tablet or smartphone before entering.
Insurance verification happens at this stage. If your coverage is unclear or if you have questions about costs, the coordinator will review everything with you to prevent surprises later. Typical wait times before being called back to the treatment area range from five to ten minutes. Most offices provide Wi-Fi, water, and a comfortable waiting area. Children may have a play corner to help pass the time.
If you’re feeling nervous, it’s perfectly okay to let the staff know. Dental anxiety is very common, and the team can provide comfort tools such as noise-canceling headphones, a slower appointment pace, or breaks during treatment.
Step 3: Getting Settled in the Treatment Room
Moving from the waiting area into the treatment room is often when dental anxiety peaks. Your dental team is trained to make this transition as calm and welcoming as possible. They will greet you by name and provide a brief explanation of the equipment they will use during your appointment.
Simple explanations, such as “this chair adjusts for your comfort” or “this light helps us see clearly,” turn unfamiliar tools into friendly helpers. For children, the “tell-show-do” method is commonly used: the dentist shows the tools, explains their purpose, and then performs the procedure. This helps kids feel in control and less scared.
Most importantly, your team will explain how you can pause the treatment at any time by raising your hand. This hand signal gives you control over your comfort and reduces the fear of losing control.
Many offices also provide extra comforts such as ergonomic chairs, music, ceiling-mounted TVs, or headphones to help distract you during treatment.
Step 4: Health History Review and Oral Exam
Once you’re comfortable in the chair, the dentist or hygienist will review your health history in detail. They will ask about allergies, chronic conditions (such as diabetes or heart disease), medications, lifestyle habits like tobacco use, and any previous reactions to dental care. This information guides decisions about anesthesia, treatment choices, and post-care instructions.
After reviewing the history, your provider will conduct a comprehensive oral examination. This begins with an oral cancer screening, which takes about two minutes and involves gently checking your tongue, cheeks, throat, and floor of the mouth.
Next, they will examine your teeth and gums, looking for early signs of decay, worn fillings, bite issues, or gum disease. This includes checking for plaque, tartar buildup, and inflammation.
The dentist will explain what they are doing throughout the exam and encourage you to ask questions to stay informed. This transparency helps reduce anxiety and builds trust.
Step 5: X-Rays and Diagnostic Tests
Many oral health issues can hide beneath the surface, so X-rays are a crucial part of a first visit. Most offices use digital X-rays today, which expose you to far less radiation than traditional film and deliver images instantly.
Typically, bitewing X-rays are taken to check for cavities between teeth and bone loss. A panoramic X-ray may also be done to evaluate wisdom teeth, jaw structure, and sinus areas.
The dental team will explain each step and ensure your comfort throughout the procedure. If you experience any discomfort, they will pause or adjust the process.
Additional tools, such as intraoral cameras or fluorescence detection devices, may be used to clearly show you problem areas. Seeing detailed images helps you understand your condition and the need for treatment.
Step 6: Professional Cleaning and Preventive Treatments
After the exam and diagnostics, the hygienist will perform a professional cleaning. This involves removing hardened tartar (mineralized plaque) that brushing cannot eliminate, especially below the gum line. This step is crucial in preventing gum disease and tooth decay.
You may feel light scraping and water spraying during this process, but it is gentle and effective.
Once cleaning is complete, polishing with a mild abrasive paste smooths the tooth surfaces and helps prevent new plaque buildup. Flossing removes any loosened debris between teeth.
If your gums are sensitive, ask for a numbing gel to use during the procedure.
Preventive treatments, such as fluoride varnish, may be applied to strengthen enamel, especially if you have weak enamel or a dry mouth. Sealants, thin protective coatings applied to the chewing surfaces of back teeth, can also be offered to reduce cavities.
Professional cleanings reset your oral health, supporting your daily brushing and flossing efforts.
Step 7: Reviewing Results and Planning Your Care
After all tests and cleaning, the dentist will sit down with you to review findings. Using the images and notes, they will identify areas of concern, such as early decay, gum issues, or bite problems.
The dentist will prioritize what needs immediate treatment, what can be prevented from worsening, and any elective or cosmetic options.
They will use simple language, answer your questions, and provide a printed or emailed treatment plan for you to review at home. This transparency ensures you feel confident about your choices and understand what to expect next.
Step 8: Discussing Costs, Insurance, and Payment Options
Before starting any treatment, the front desk will clearly explain your estimated costs. They will break down what your insurance covers, what you owe out-of-pocket, and the payment options available.
Understanding your financial responsibilities upfront helps avoid surprises at checkout. Many offices offer flexible payment plans or financing options, such as Sunbit, which allows you to easily spread payments over time.
Your dental team will also help explain complex insurance terms and submit pre-authorizations for more extensive treatments to confirm coverage in advance.
Open and empathetic conversations about cost build trust and make it easier for you to get necessary care.
Step 9: Checkout and Scheduling Follow-Up Visits
At the end of your appointment, the front desk will process your payment and submit insurance claims on your behalf. You’ll receive a receipt detailing today’s charges.
Most dental offices recommend routine exams and cleanings every six months to catch issues early and avoid costly procedures. You can schedule your next visit before you leave, with reminders sent via email or text to help you stay on track.
Regular visits are like preventive maintenance for your smile, keeping small problems from developing into more significant and costly issues.
Special Tips for a Successful First Visit
- If You Haven’t Seen a Dentist in Years: You might need deeper cleaning below the gums, called scaling and root planing. This treatment is performed gently, often in stages, and uses numbing gel to keep you comfortable.
- Bringing Kids? Pediatric dentists use a “tell-show-do” method to reduce fear by explaining tools and steps before doing them.
- Non-English Speakers: Ask if the office provides interpreters or bilingual staff and request translated forms to ensure clear communication.
- Feeling Anxious? Let your dental team know. They can suggest calming techniques, such as deep breathing, music, or a hand signal to pause the treatment.
- Medical Conditions: Always disclose any chronic illnesses or medications so your dentist can provide safe and customized care.
Need Help Finding the Right Dentist?
If you’re ready to book your first dental appointment or looking for a new provider, use the Sunbit dental directory. Sunbit connects you with trusted dentists near you who focus on affordable, patient-friendly care.
Whether it’s your first cleaning or ongoing treatment, find a dentist who fits your needs and budget to make dental visits easier than ever.